This recipe relies on a simple, homemade dough that fries up perfectly crisp. By letting the dough rest, you ensure it is easy to roll out thin without it snapping back. Using pre-cooked shredded chicken keeps the prep time manageable while ensuring the filling is fully seasoned and ready to go.
Ingredient Notes
Shredded Roasted Chicken: Use store-bought rotisserie chicken or leftovers from a previous meal to keep things simple.
Extra Virgin Olive Oil: This adds a subtle richness to the dough, helping it achieve a golden color when fried.
All-Purpose Flour: Standard pantry flour works best here to create a sturdy structure that holds the filling securely.
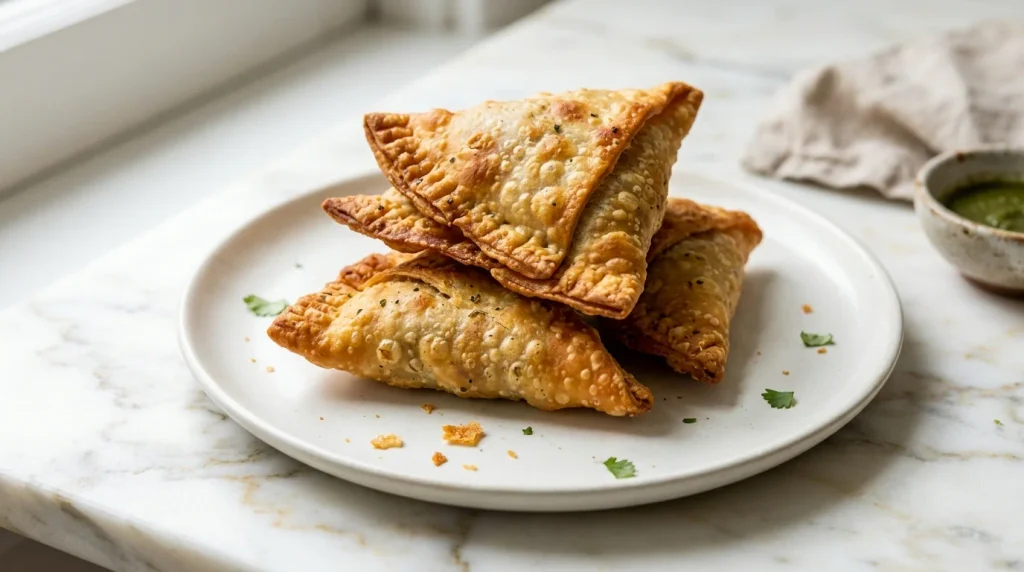
Roasted Chicken Samosa
Roasted Chicken Samosa
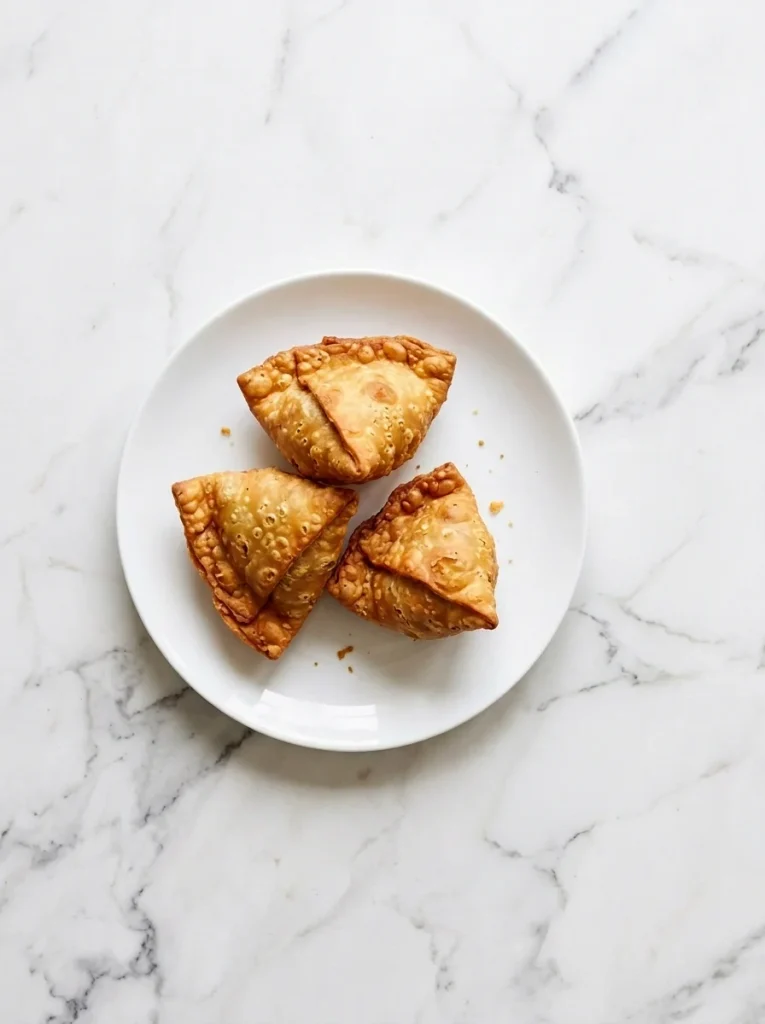
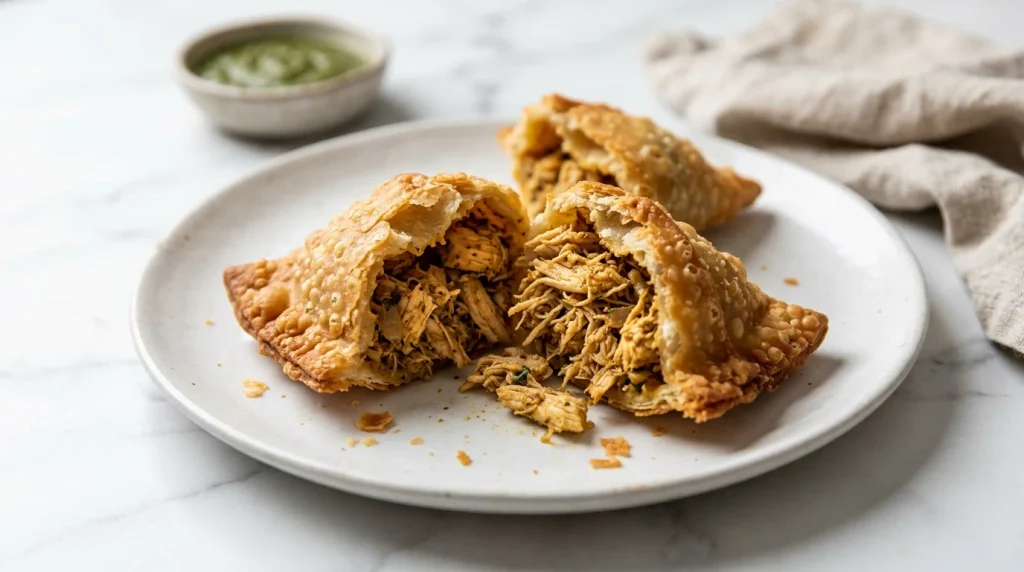
These crispy golden pastry pockets are filled with savory shredded roasted chicken for a perfect handheld snack.
Whisk the flour and salt together in a large mixing bowl, then stir in the olive oil until the mixture looks like coarse crumbs.
Gradually add the water while mixing until a firm dough forms, adding a splash more water only if the flour is not fully incorporated.
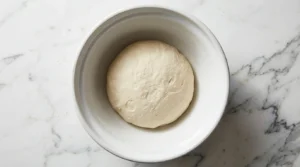
Cover the bowl with a damp kitchen towel and let the dough rest at room temperature for at least 45 minutes to relax the gluten.
Divide the dough into 6 equal portions and roll each into a smooth ball.
Roll each ball out into a thin circle on a lightly floured surface, then cut each circle in half to create two semi-circles.
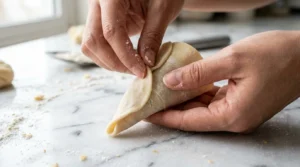
Lightly dampen the straight edge of a semi-circle with water, fold it into a cone shape, and pinch the seam firmly to seal.
Fill each cone with a portion of the shredded chicken, then dampen the top edges and press them together to seal the samosa completely.
Heat a few inches of oil in a deep pot to medium-high heat.
Fry the samosas in batches until they are deep golden brown and crispy, turning them occasionally to ensure even cooking.
Transfer the finished samosas to a paper towel-lined plate to drain before serving.
Keyword Chicken Samosa
Tima’s Tips
Make sure the dough is firm rather than sticky, as a stiffer dough creates a much crunchier pastry once fried.
You can assemble the samosas ahead of time and keep them covered in the refrigerator for a few hours before frying.
Serving Suggestions
These are excellent served warm with a side of chutney or a cooling yogurt dip. They work well as a standalone snack or as part of a larger appetizer spread.
Variations
Add finely diced onions or fresh cilantro to the shredded chicken for extra texture.
Mix in a pinch of cumin or garam masala with the chicken to adjust the flavor profile.
Serve with a side of tamarind sauce for a sweet and tangy contrast.
Storage
Store any leftovers in an airtight container in the refrigerator for up to two days. Reheat them in a hot oven or air fryer to bring back the crisp texture.
Common Questions I Get
Can I make the dough ahead of time?
Yes, you can prepare the dough and let it rest in the refrigerator for a few hours if needed, just bring it back to room temperature before rolling.
How do I know when the oil is hot enough?
The oil is ready when a small piece of dough dropped in sizzles immediately and turns golden brown within a minute.
Can I bake these instead of frying?
This recipe is specifically designed for deep frying to achieve the traditional crispy texture, so baking may result in a different, drier pastry.
If you make this, let me know how it turned out in the comments below — I’d love to hear from you.
Tima
I’m Tima Miller, a self-taught cook and author of the Simple Yummy cookbook series. Every recipe here is tested, clearly written, and designed to work in a real home kitchen.