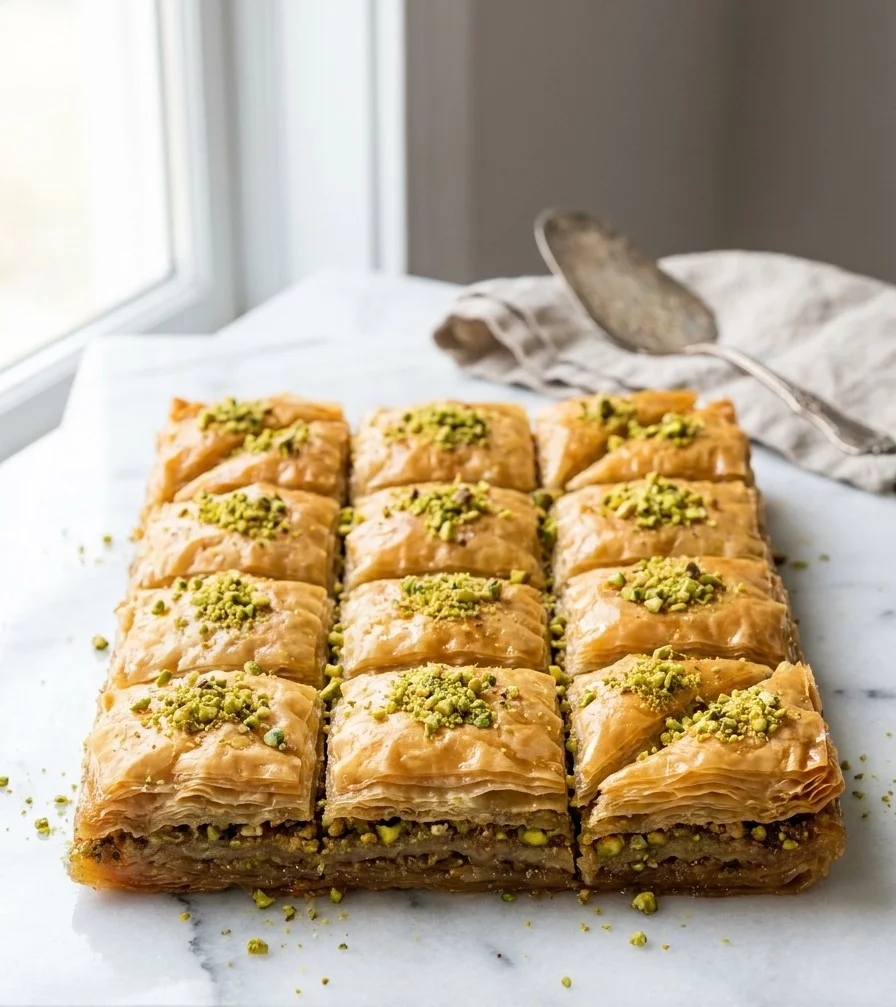
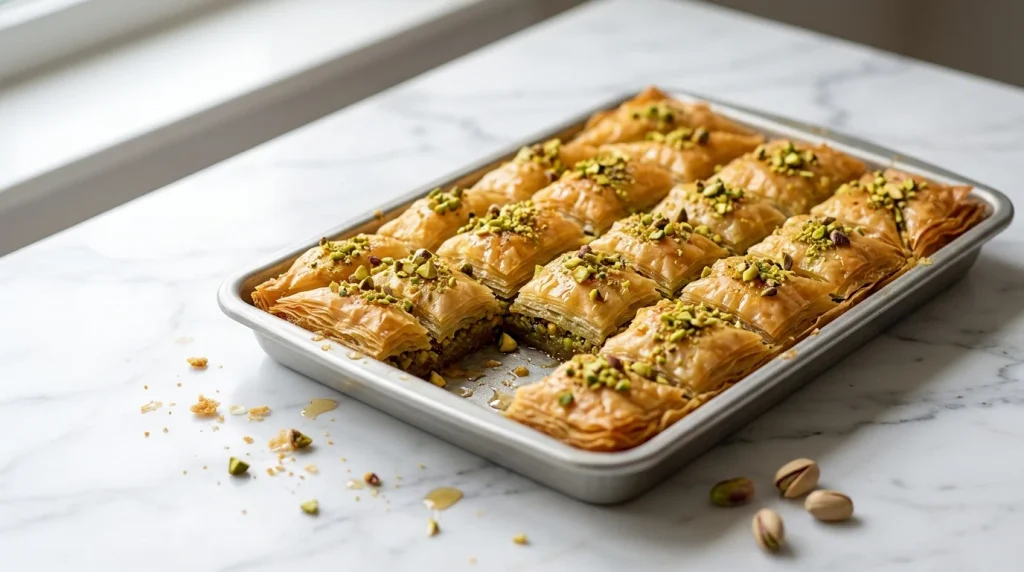
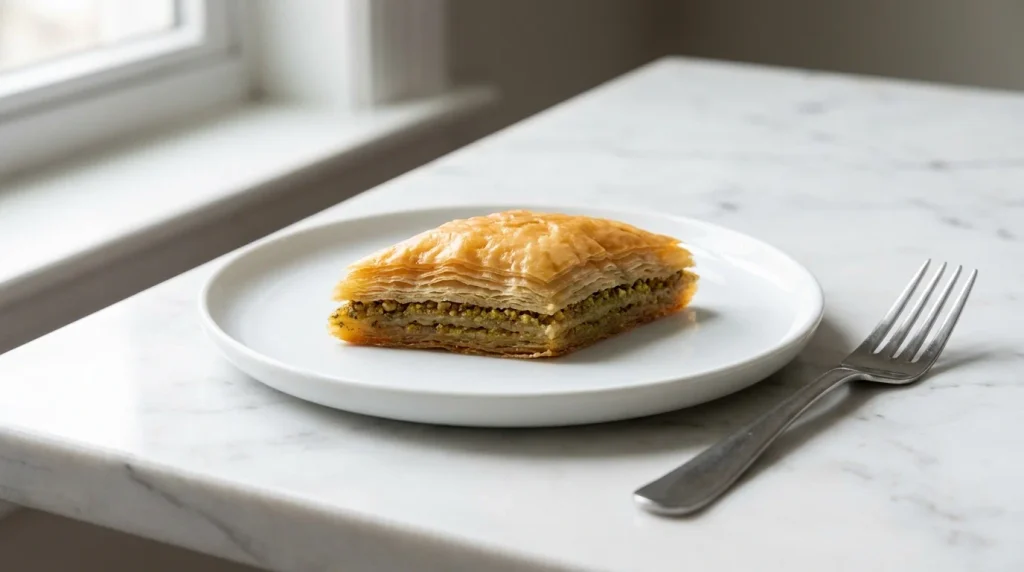
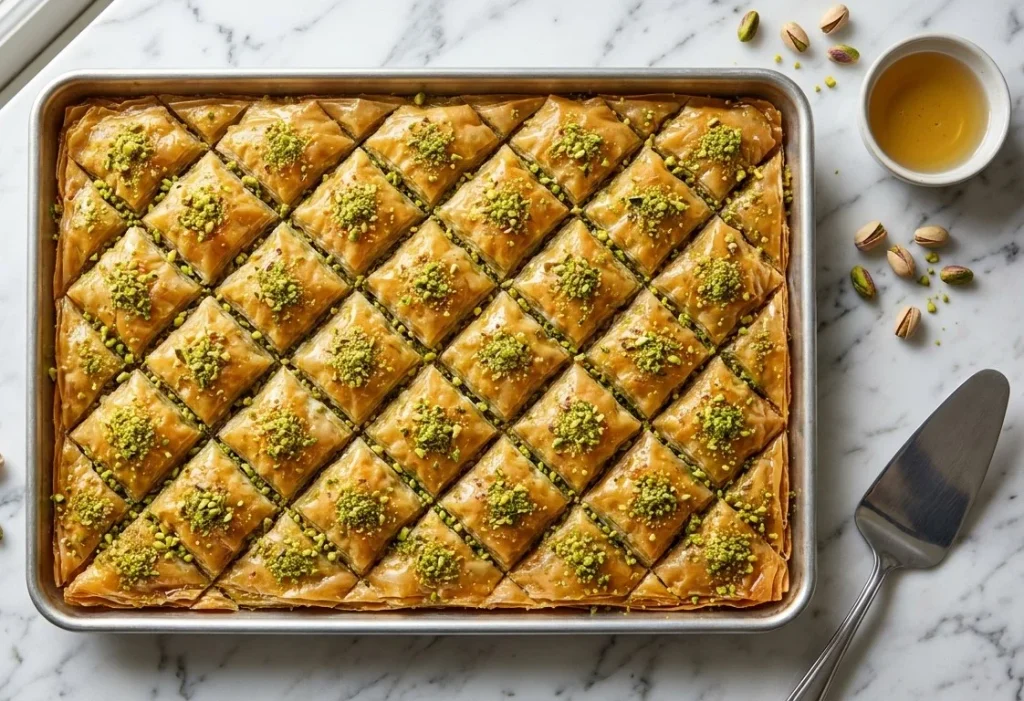
Making homemade baklava can feel intimidating when you are worried about dry pastry or soggy layers, but this Pistachio Baklava recipe gives you crisp, golden results every single time.
The secret to great baklava is managing temperature and moisture. Pouring chilled lemon syrup over the piping hot pastry creates an immediate sizzle that locks in crispness while absorbing the sweet citrus liquid.
Keeping your phyllo dough covered with a damp towel prevents it from cracking while you assemble the layers, ensuring a neat, flaky finish.
Key Ingredients & Notes for Pistachio Baklava
Phyllo dough: Thaw this overnight in the refrigerator so the sheets separate easily without tearing.
Clarified butter: Using clarified butter removes milk solids, which prevents burning during the long baking time.
Shelled pistachios: Finely chop these so the filling stays compact and even between the pastry sheets.
Lemon juice: Adding this to the sugar syrup cuts through the rich sweetness and balances the flavor.
How to Make Pistachio Baklava
Pistachio Baklava
Crisp layers of phyllo pastry filled with finely chopped pistachios and soaked in a sweet lemon syrup for a classic Mediterranean treat.
1poundphyllo doughthawed overnight in the refrigerator
1 1/2cupsclarified buttermelted
3cupsshelled pistachiosfinely chopped
1/3cupshelled pistachiosfinely chopped, for garnish
Instructions
Combine the sugar and water in a saucepan over medium-high heat.
Bring to a boil, then reduce the heat and simmer for 25 minutes.
Stir in the lemon juice.
Cool the syrup, then refrigerate it until cold.
Heat the oven to 350 degrees F.
Brush a 9-by-13-inch baking dish with clarified butter.
Trim the phyllo sheets to fit the dish.
Keep the stack covered with a damp kitchen towel while you work so the sheets dont dry out.
Place one sheet of phyllo in the dish and brush it lightly with clarified butter.
Repeat until you have a stack of 10 buttered sheets.
Sprinkle half of the 3 cups of chopped pistachios evenly over the phyllo.
Add another stack of 10 phyllo sheets, brushing each sheet with clarified butter as you layer it.
Bake for 60 minutes, or until the top is golden brown.
After 40 minutes, loosely cover the dish with foil to keep the top from browning too quickly.
Remove the baklava from the oven and immediately pour the cold syrup evenly over the hot pastry.
Sprinkle the remaining chopped pistachios over the top.
Let the baklava cool completely before serving.
Keyword Baklava
Tima’s Tips
Cut the baklava into diamond or square shapes before baking if you prefer cleaner serving pieces.
Make sure your syrup is completely cold before pouring it over the hot pastry.
Serving Suggestions
Serve this dessert alongside a hot cup of black tea or strong coffee to balance the rich sweetness.
Storage
Store your baklava at room temperature loosely covered for up to a few days to maintain its crisp texture. Avoid refrigerating it, as moisture will make the phyllo soggy.
Common Questions I Get
Can I use regular butter instead of clarified butter?
Clarified butter works best because the milk solids in regular butter can burn during the 60-minute bake time.
Why does the syrup need to be cold?
Pouring cold syrup over hot pastry creates a thermal shock that absorbs the liquid while keeping the phyllo crisp instead of soggy.
How do I keep phyllo dough from drying out?
Keep the unused sheets covered with a damp kitchen towel at all times while you assemble the layers.
Can I freeze Pistachio Baklava?
Freezing changes the texture of the crisp phyllo layers, so it is best enjoyed fresh at room temperature.
If you make this, let me know how it turned out in the comments below — I'd love to hear from you
Tima
I’m Tima Miller, a self-taught cook and author of the Simple Yummy cookbook series. Every recipe here is tested, clearly written, and designed to work in a real home kitchen.